
Why is my water dispenser leaking?
A common issue that disrupts daily life is wondering, “Why is my water dispenser leaking?” This problem can lead to water waste, potential damage to home flooring, and unnecessary frustration.
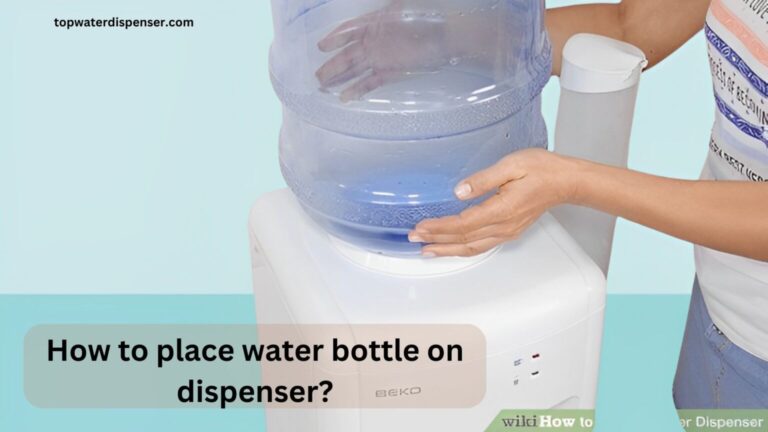
To fix a leaking water dispenser, first ensure that the water bottle is seated correctly. If properly aligned and the issue persists, check for cracks in the bottle or dispenser. Replacing any damaged parts should resolve the leakage.
Discover the top troubleshooting tips for a leaky water dispenser. Learn how to diagnose and solve the problem quickly. Click to save time, water, and your peace of mind!
Why is my water dispenser leaking? (7 Steps Guidance)
If you are facing the same problem like, Why is my water dispenser leaking? And how to use it properly, Must follow the steps!

Step 1: Check the Water Bottle Seals
Before assuming a complex problem, inspect the seals of the water bottle. Flawed seals can often lead to water escaping and should be the first checkpoint in addressing a leak from your water dispenser.
Step 2: Inspect for Cracks or Damage in the Bottle
Closely examine the water bottle for any cracks or damage. Even small fractures can cause significant leaking and will require a replacement to ensure proper functioning of your dispenser.
Step 3: Evaluate the Dispenser for Cracks or Holes
After ruling out bottle issues, scrutinise your dispenser for any cracks or holes. This damage could be a direct cause of the leak and might require patching or parts replacement to prevent further water leakage.
Step 4: Examine the Spigots for Drips or Leaks
Spigots are common culprits in water dispenser leaks. Carefully check each spigot for drips or leaks, and ensure they’re tightly secured. If wear and tear are evident, consider replacing them to stop the leakage.
Step 5: Test the Water Pressure and Temperature Settings
Sometimes, incorrect water pressure or temperature settings can cause leaks. Always verify that your dispenser’s settings align with the manufacturer’s recommendations to prevent stress on the system that might lead to leaks.
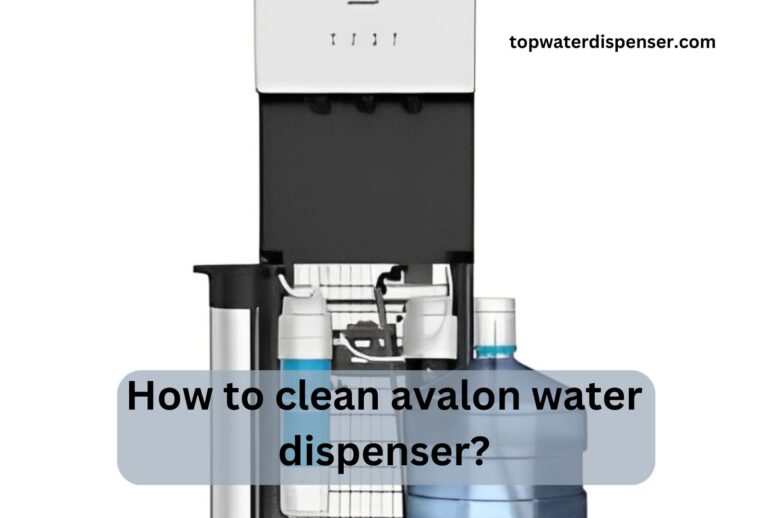
Step 6: Clean or Replace the Water Filter
Over time, water filters can accumulate sediment and cause blockage, leading to leaks. Regularly clean the filter or replace it as recommended by the manufacturer to maintain optimal function and prevent leakage.
Step 7: Consult a Professional if Issues Persist
If the leakage continues after all steps, it’s best to seek assistance from a professional. They can diagnose complex issues and make necessary repairs to ensure your water dispenser functions without fault.
Topics:
The comprehensive instruction related to the problems of water dispensers which prevent the water from dispense.
1.Understanding Common Water Dispenser Models and Their Unique Challenges
Familiarity with your water dispenser model is crucial. Each design may come with distinct challenges, from dispenser valve complications to refrigeration issues, which can influence troubleshooting methods. Recognize your model’s specifics to address problems effectively and maintain dispenser longevity.
2.Preventing Future Leaks: Maintenance Tips for Longevity
Preventative maintenance is key to avoiding future leaks in water dispensers. Regular cleaning of drip trays, checking for seal integrity, and timely replacement of water filters are crucial steps that can greatly extend the lifespan of your appliance and ensure consistent, leak-free performance.
3.The Role of Water Quality in Dispenser Performance and Leak Prevention
Poor water quality can contribute to dispenser malfunctions and leakage. Hard water, in particular, can lead to mineral buildup within the system, affecting valves and seals. Regular testing and treatment of your water supply can prevent these issues and safeguard against future leaking.
4.Upgrading Your Water Dispenser: When to Consider a New Model
Considering an upgrade may be wise when persistent issues arise, or if your water dispenser is outdated. Modern models offer improved energy efficiency, enhanced features, and better leak-prevention technologies that not only save on utility costs but also provide peace of mind and ease of use.
5.DIY Versus Professional Repair: Making the Right Choice for Your Water Dispenser
When deciding between DIY and professional repair for a water dispenser leak, assess your competence with appliance maintenance. While minor issues may be manageable, complex or recurring problems warrant professional expertise to ensure a thorough fix and to avoid potential complications from amateur attempts at repair.
Conclusion:
In conclusion, addressing the quandary “Why is my water dispenser leaking?” requires systematic troubleshooting that ranges from simple seal inspections to consultations with professionals. Adherence to maintenance advice and understanding the unique aspects of your model can preempt future leaks. Should persistent issues resist DIY methods, seeking professional repair is the next best step to ensure your dispenser’s optimal performance and longevity.
FAQs:
People also ask realred, Why is my water dispenser leaking?
To fix a leaking water bottle, check for and replace faulty seals or cracked containers, ensuring everything is correctly aligned or sealed.
To fix a water dispenser, identify the source of the leak, check seals and spigots, adjust the pressure, clean or change filters, and seek professional help if needed.
To stop a water dispenser from leaking, inspect seals, spigots, and bottles for damage, check pressure settings, replace filters, and consult a professional if leaks persist.
To stop a water dispenser from leaking, inspect seals, spigots, and bottles for damage, check pressure settings, replace filters, and consult a professional if leaks persist.
To stop a cooler from leaking water, ensure the drain plug is tightly secured, check for cracks, and replace any damaged seals or components.

One Comment