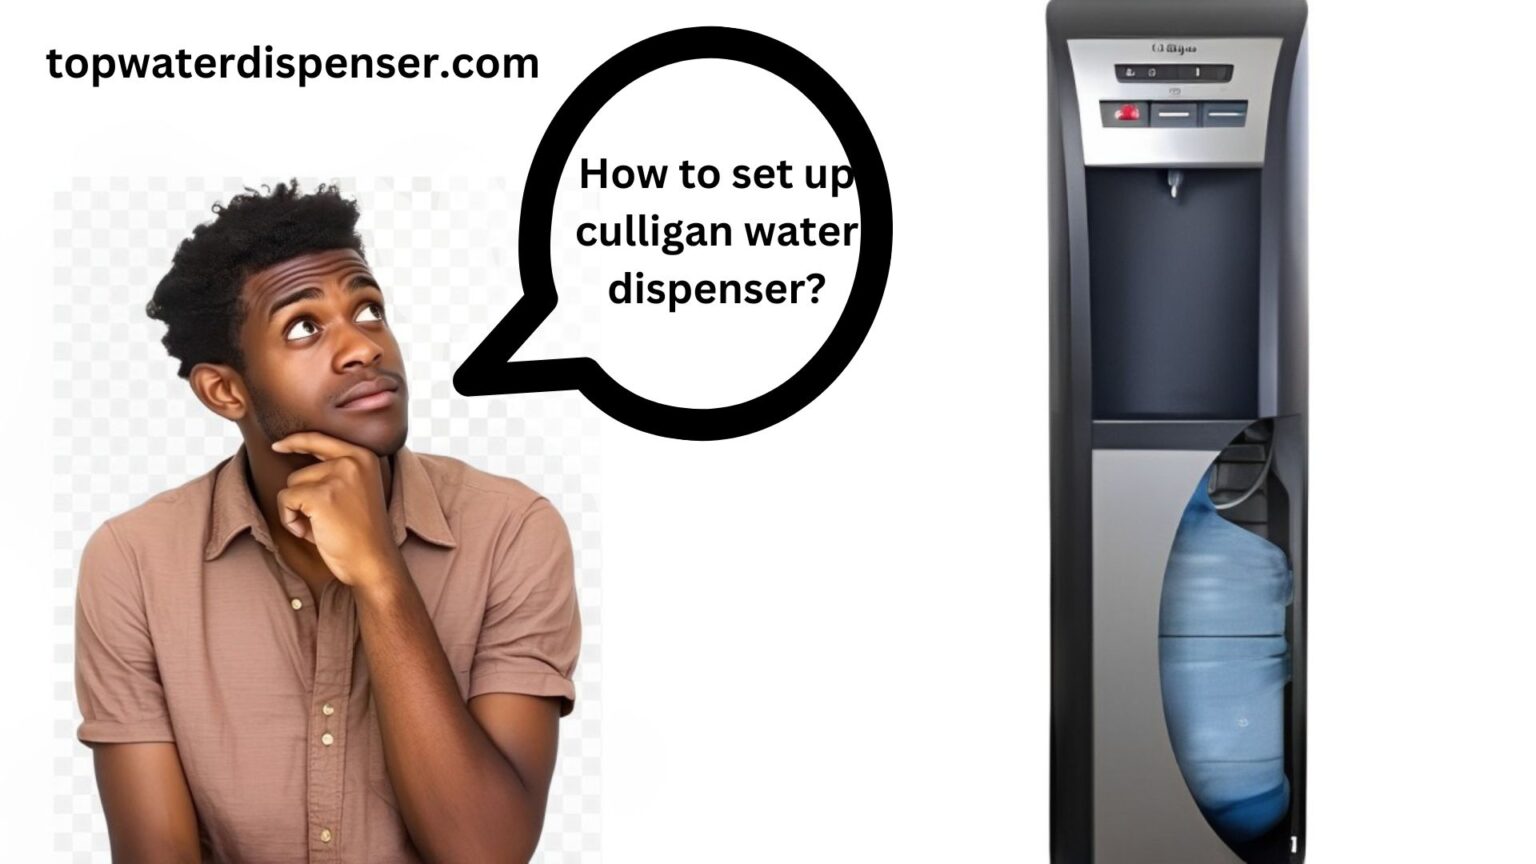
How to set up culligan water dispenser?
Struggling with dehydration, I realised the importance of easy access to clean water, prompting me to figure out “How to set up culligan water dispenser?” in my home to ensure constant hydration.
Firstly, place the dispenser on a flat surface near a power outlet. Fill the reservoir with water, ensuring it’s seated properly. Plug in the power cord, flip the switch on, and allow the water to reach the desired temperature.
Discover the ease of staying hydrated! Dive into our guide on setting up a Culligan water dispenser and never worry about your water needs again. Click for more hydration made simple!
How to set up culligan water dispenser? ( 9 Steps Guidance)
If you are facing the same problem like, How to set up culligan water dispenser? Must read the below steps.

Step 1: Unbox and Inspect
Carefully unbox your Culligan water dispenser and inspect all parts. Ensure there’s no damage before proceeding with the installation process.
Step 2: Choose a Suitable Location
Select a stable, flat surface close to an electrical outlet and away from direct sunlight for optimal performance.
Step 3: Clean Before Use
Before assembly, wipe down the water dispenser with a damp cloth to remove any dust or debris accumulated during manufacturing or shipping.
Step 4: Assemble Water Guard
Install the water guard where the water bottle will be placed. This will prevent spills and ensure proper water flow.
Step 5: Install the Water Bottle
Take a Culligan water bottle and remove the cap. Lift and place it onto the dispenser, making sure it sits securely in the water guard.
Step 6: Connect to Power
Plug in your dispenser to a grounded electrical outlet. It’s important not to use an extension cord to avoid potential electrical hazards.
Step 7: Fill the Reservoir
Pour water into the reservoir if necessary, ensuring no parts are dry which could result in damage when the device is turned on.
Step 8: Turn On the Dispenser
Find the power switch, typically located at the back of the unit, and turn it on. Wait for the indicator lights to signal it’s ready.
Step 9: Set Temperature and Use
Adjust the thermostat according to your desired water temperature. The Culligan dispenser provides options for both cold and hot water.
topics:
The comprehensive topics related, How to set up culligan water dispenser?
1.Common Troubleshooting for Culligan Water Dispensers
When your Culligan water dispenser isn’t functioning as expected, start with basic troubleshooting. Check for common issues like power supply problems, clogged water lines, or improper bottle placement, which can typically be resolved without professional help.
2.Maintenance Schedule for Longevity
Establishing a routine maintenance schedule will ensure your dispenser remains in prime condition. Regular checks should include cleaning of water lines, changing of filters, and inspection for any signs of wear and tear that could affect performance.
3.Health Benefits of Using Filtered Water Dispensers
Using a Culligan water dispenser contributes to healthier drinking habits by providing clean, filtered water. Filtered water reduces the presence of contaminants, improves taste, and can motivate increased water consumption, essential for overall health.
4.Enhancements and Accessories for Culligan Dispensers
Learn about available enhancements such as cup dispensers, additional filtration options, or temperature control upgrades that can augment your Culligan system, making the convenience of clean water even more accessible and satisfying personal or office needs.
5.How to Select the Right Water Service Plan
Choosing the right Culligan water service plan involves considering factors like water consumption, budget, and service frequency. We’ll guide you through the options to ensure you find a plan that perfectly aligns with your hydration needs.
6.Environmental Impact of Bottle-Free Water Dispensers
Explore how bottle-free water dispensers play a crucial role in reducing waste. Swapping to a Culligan dispenser minimizes reliance on single-use plastics, lessens carbon footprint due to lower transport needs, and contributes to a more sustainable future.
Conclusion:
In conclusion, “How to set up culligan water dispenser?” is simplified through our meticulous step-by-step guide, ensuring you can enjoy pure, refreshing water with minimal effort. By following the outlined procedures, from selecting a location to adjusting temperature settings, you establish not only a source of hydration but also a commitment to your well-being. Embrace the benefits of a hassle-free installation process and elevate your daily water intake with the convenience of a Culligan water dispenser.
FAQs:
People also ask, How to set up culligan water dispenser?
Water dispensers use gravity and pumps to release water from a bottle or reservoir through faucets for hot or cold water on demand.
Clean a water dispenser with a jug every six to eight weeks to maintain water quality and prevent bacterial growth.
A water cooler may not dispense water due to a blocked spout, improperly seated bottle, frozen lines, or a malfunctioning pump or dispenser switches.
Yes, regular cleaning of your Culligan water dispenser is crucial to prevent bacteria build-up and maintain water quality for safe consumption.
Adjust the temperature on a Culligan cooler by turning the thermostat dial, typically located behind the front panel or at the back of the unit.


One Comment