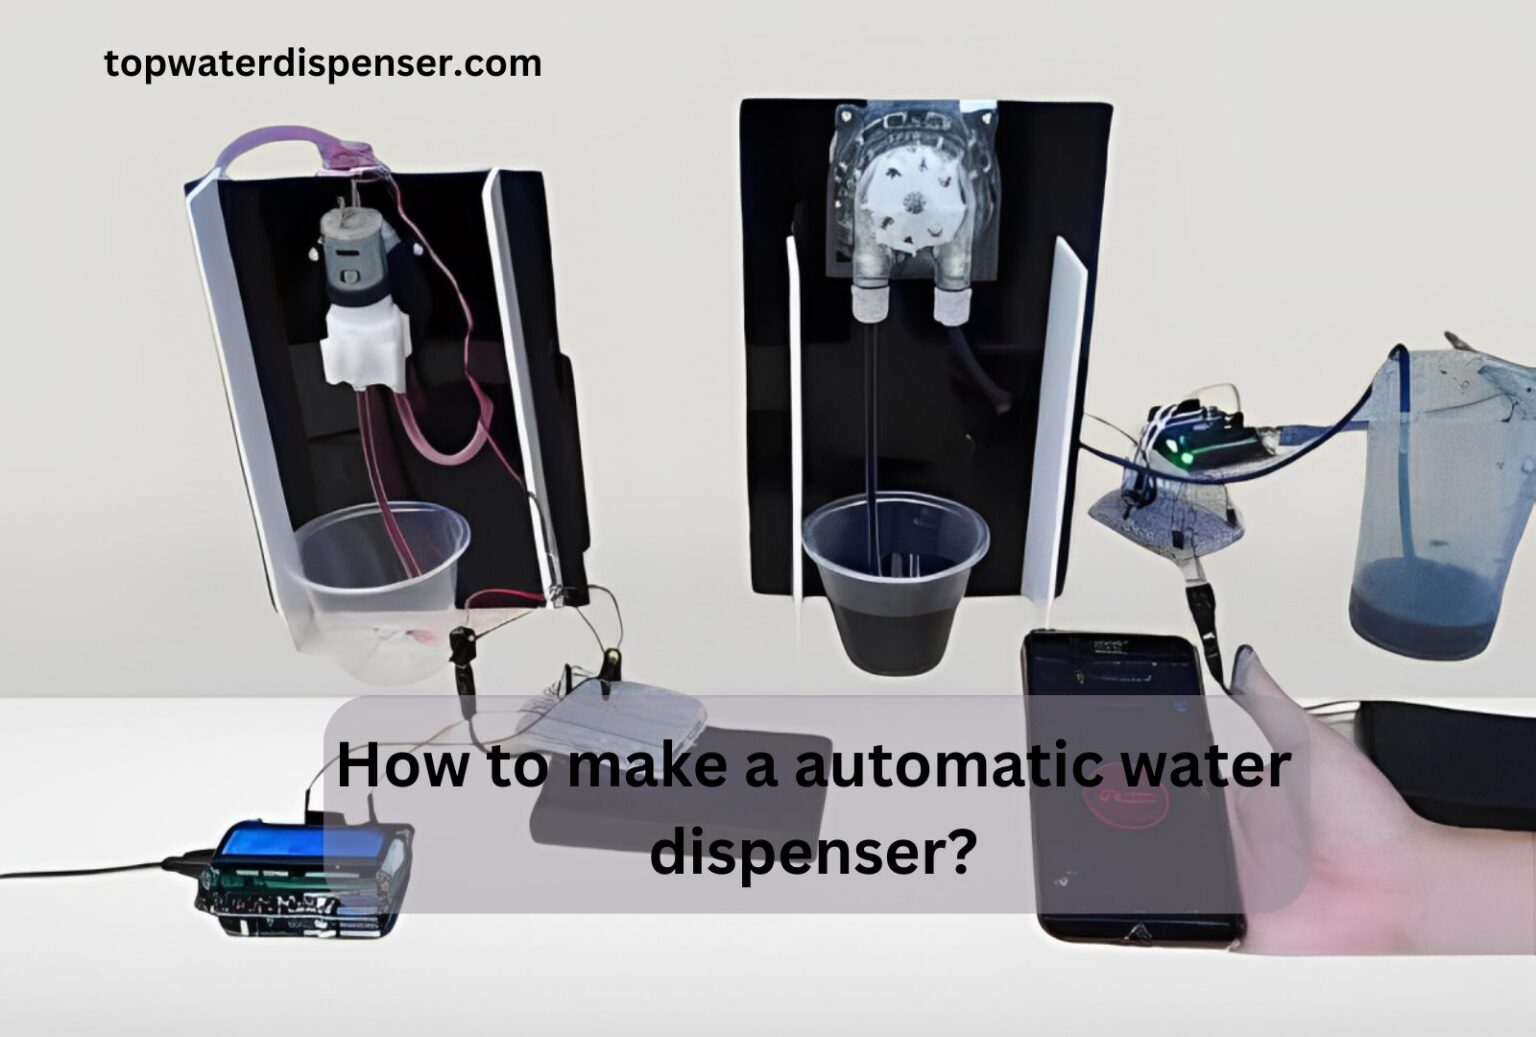
How to make a automatic water dispenser?
Struggling with frequent water refills for your pets or plants? Learn “How to make an automatic water dispenser?” and simplify your life with a continuous, hassle-free water supply.
Create an automatic dispenser using a water bottle, a tray, and a regulating valve to control flow. Invert the bottle over the tray, and let gravity and vacuum pressure keep a constant water level as pets drink or water evaporates.
Dive into our simple guide and craft your DIY automatic water dispenser today! Say goodbye to the hassle of constant refills. Read More.
How to make a automatic water dispenser? (10 Steps Guidance)
If you are facing the same problem like, How to make a automatic water dispenser? Must read the following steps!

Step 1: Gather Your Materials
For your DIY water dispenser, collect a clean water bottle, a basin suited for your needs, a drill, silicone adhesive, and a small adjustable valve to manage water flow.
Step 2: Prepare the Water Bottle
Carefully drill a hole in the cap of the water bottle. Ensure the hole matches the size of your valve for a secure fit, avoiding leaks.
Step 3: Assemble the Regulating Valve
Insert the regulating valve into the drilled cap hole. Secure it with silicone adhesive to ensure a watertight seal. Allow it to cure as per the adhesive’s instructions before proceeding to the next step.
Step 4: Test the Water Flow
Fill the bottle with water, attach the cap with the valve, and invert it. Adjust the valve to check for a consistent water flow into the tray without leaks.
Step 5: Secure the Bottle to the Tray
Affix the water bottle to your tray or holder using sturdy straps or clamps. Ensure it’s stable to prevent tipping and provide a reliable water source.
Step 6: Position the Dispenser
Choose a location free from direct sunlight and excessive heat to minimise evaporation and keep the water fresh for your pets or plants.
Step 7: Fill the Bottle with Water
Fill the bottle to the top with fresh, clean water. Ensure there are no contaminants that could harm your pets or affect your plants’ growth.
Step 8: Monitor the Water Level
Regularly check the water level in the tray, ensuring that your dispenser is replenishing the supply as needed to meet demand.
Step 9: Make Adjustments as Needed
Experiment with the valve settings for optimal flow. Make adjustments depending on the drinking habits of your pets or the absorption rate of the soil.
Step 10: Regular Maintenance and Cleaning
Keep your dispenser clean by washing it regularly. This prevents algae growth and ensures that your pets or plants have access to clean water.
Topics:
The comprehensive topics related, How to make a automatic water dispenser?
1.Common Challenges with DIY Water Dispensers
Often, DIY water dispenser enthusiasts face issues like maintaining a steady water flow, leaking of water preventing algae growth, and ensuring durability. Overcoming these challenges involves careful design consideration and periodic maintenance to keep the system functioning effectively.
2.Advantages of Automatic Watering Systems
Automatic watering systems save time, reduce water waste, and provide peace of mind by ensuring consistent hydration for pets or plants, whether you are home or away. Their efficiency and convenience make them a smart addition to any home.
3.Customization Options for Different Pets and Plants
Every pet and plant has unique needs, which is why customization is key. Options like adjustable flow rates, multiple dispensers, and various reservoir sizes allow for a personalised approach to ensure optimal hydration tailored to individual requirements.
4.The Role of Gravity in Water Dispensation
Gravity is the core mechanism behind water dispensers. It utilises the earth’s gravitational pull to create a vacuum inside the bottle, which regulates the water flow naturally. This simple yet effective force ensures a steady and reliable dispensation without the need for complex systems or electricity.
5.Making Your Water Dispenser Eco-Friendly
To create an eco-friendly water dispenser, choose sustainable materials such as glass bottles over plastic and maintain your dispenser regularly. Implement a rainwater catchment system to fill the reservoir, reducing the reliance on tap water and enhancing your commitment to sustainable living practices.
6.Troubleshooting Tips for DIY Water Dispenser Issues
When building a DIY water dispenser, common issues may arise, such as inconsistent water flow, leakage, or contamination. Addressing these requires a troubleshooting mindset—check the seals, ensure the valve is functioning correctly, and regularly clean the system to maintain optimal performance.
Conclusion:
In conclusion, the “How to make an automatic water dispenser?” guide provides a comprehensive DIY solution for maintaining a steady supply of water for your pets or plants. This approach not only simplifies daily routines but also ensures the well-being of your dependents through proper hydration. By following the outlined steps and utilising simple science principles, you can create a reliable, automatic dispenser that meets specific needs while contributing to sustainable living practices. It’s a rewarding project that reflects the ingenuity and resourcefulness of DIY enthusiasts.
FAQs:
People also ask, How to make a automatic water dispenser?
A common sensor used in automatic dispensers is an infrared (IR) proximity sensor, which detects the presence of an object to trigger the dispensing mechanism.
The methodology of an automatic water dispenser involves using sensors to detect an object’s presence and activate a valve to release the water flow.
An automatic water dispenser works by using sensors that trigger a valve, allowing water to flow due to gravity when an object like a glass is detected.
To make a water dispenser: drill a hole in a bottle cap, insert a valve, seal, test flow, secure to a tray, position, fill with water, and regularly maintain.
To make a sensor water dispenser, attach an infrared sensor to the tap, connect it to a control circuit, and calibrate it to trigger the flow of water when desired.


One Comment