
How to install brio water dispenser?
Many homeowners find themselves puzzled by the installation process for essential appliances. A common challenge arises with the question, “How to install brio water dispenser? ensuring access to clean drinking water.
Begin by selecting a level spot near a power outlet. Unbox the dispenser, attach the water bottle support collar, and place a water jug atop. Plug in the unit, switch it on, and allow it to cool or heat the water.
Discover the ease of Brio water dispenser setup with our step-by-step guide. Ensure continuous access to pure, refreshing water in no time. Dive deeper into the article for detailed instructions.
How to install brio water dispenser? (6 Steps Guidance)
If you are facing the same problem like How to install brio water dispenser? Must read the following steps!

Step 1: Unpack and Check Components
Carefully unpack the Brio water dispenser from its box. Verify all parts are present: the main unit, water bottle support collar, and user manual. No tools should be needed for the upcoming installation steps.
Step 2: Select the Ideal Location
Identify a flat surface near an electrical outlet. Consider ease of access and stability when choosing the location for your Brio water dispenser to ensure safety and functionality. Avoid direct sunlight and high-traffic areas.
Step 3: Assemble the Water Bottle Support Collar
Attach the provided water bottle support collar to the top of the dispenser. Ensure it locks into place to securely hold the water jug and prevent any potential spills or instability.
Step 4: Install the Water Jug
Carefully lift the water jug, remove the seal, and place it onto the collar. Ensure it’s properly seated to prevent leaks and allow for proper water flow into the dispenser.
Step 5: Connect to Power and Switch On
Once the water jug is secure, connect the dispenser’s power cord to an outlet. Turn the unit on and select your desired temperature setting to start the heating or cooling process.
Step 6: Test the Dispenser Functions
Perform an initial test by dispensing water from both the hot and cold taps to ensure functionality. Listen for any irregular noises and confirm the water is at the desired temperature before first use.
Topics:
The comprehensive topics related to the problem, How to install brio water dispenser?
1.Troubleshooting Common Issues During Installation
Troubleshooting common installation issues can save time and frustration. If your Brio dispenser isn’t functioning correctly, check that all connections are secure, ensure the unit is level, and verify that the power outlet is operational At the last if problem not solve open it.
2.Maintaining Your Brio Water Dispenser for Longevity
Regular maintenance of your Brio water dispenser is crucial for its longevity. It involves periodic cleaning of the drip tray, sanitising the water bottle support collar, and inspecting the taps for clogs to assure the best performance and hygiene of your appliance.
3.Understanding Brio Water Dispenser Settings and Features
Getting familiar with your Brio water dispenser’s settings and features is key for optimal use. With adjustable temperature controls, you can enjoy your water just the way you like it. Additionally, the child safety lock on the hot water tap provides peace of mind for households with young children.
4.The Importance of Regular Cleaning and Sanitization
Regular cleaning and sanitization of your Brio water dispenser are essential to prevent the build-up of harmful bacteria and ensure the safety of the water you drink. These simple, yet impactful, habits contribute greatly to preserving water quality and your health.
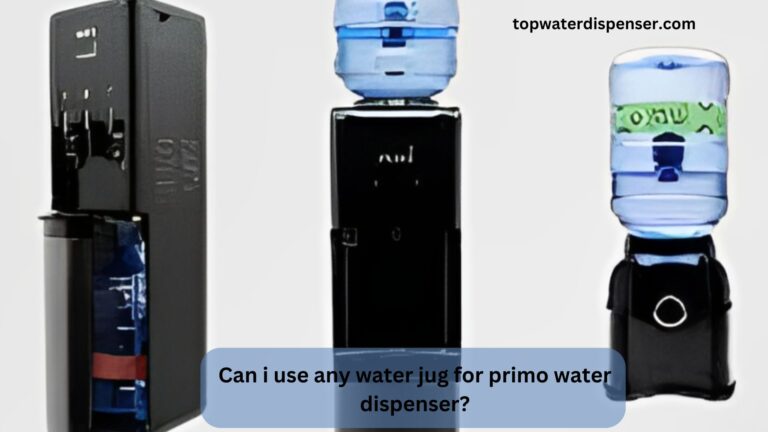
5.Choosing the Right Water Jug for Your Brio Dispenser
Selecting the appropriate water jug is vital; ensure compatibility and capacity match your dispenser model. Opt for jugs with handles for easier lifting, and choose BPA-free materials to maintain water purity and taste.
Conclusion:
In conclusion, the query “How to install Brio water dispenser?” can be addressed in manageable steps that lead to swift installation and immediate access to purified water. By following the above straightforward guide, homeowners are equipped to ensure their Brio water dispenser is installed properly, functioning effectively, and maintained for ongoing use. Remember, the right setup and care not only extend the life of your dispenser but also guarantee the quality of water your family enjoys every day.
FAQs:
People also ask, How to install brio water dispenser?
Yes, with the right tools and guidance, you can install a water purifier yourself by following the manufacturer’s instructions and safety precautions.
To connect a water cooler to a water line, you’ll need to attach the cooler’s inlet valve to your home’s water supply using a compatible water line.
To drain a Brio water dispenser, remove the water bottle, activate the taps until empty, and unscrew the drain plug at the back to release any remaining water.
To set up a water cooler dispenser, place it on a level surface, install the water bottle, connect to power, and test the temperatures and flow before use.
To install a water purifier dispenser, secure the unit in place, connect it to your water line, ensure it’s powered on, and follow the manufacturer’s setup instructions.


2 Comments