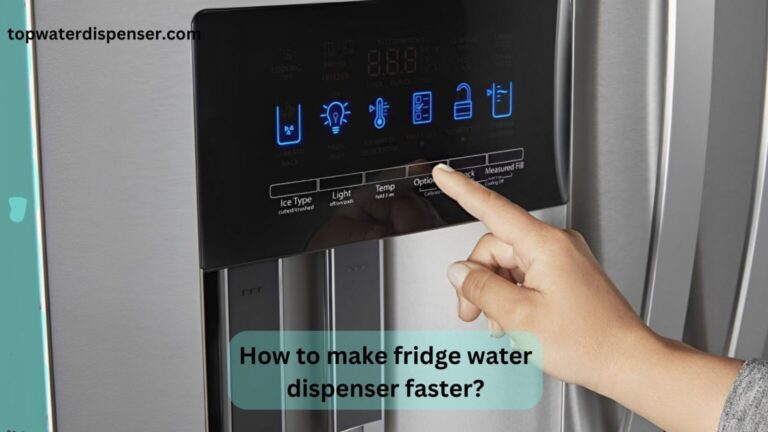
How to change filter on primo water dispenser?
Struggling with odd tastes in your water? It’s likely time to tackle the “How to change filter on primo water dispenser?” problem. Keep your hydration pure and taste at its best with a fresh filter.
To change the filter on a Primo water dispenser, first remove the front panel, then twist and pull out the old filter. Insert the new filter by lining it up with the guide grooves and pushing inward until it clicks.
Discover the full steps and tips for a hassle-free filter change on your Primo water dispenser. Keep your water fresh and delicious—read our detailed guide now!
How to change filter on primo water dispenser? (6 Steps Guidance)
If you are facing the same problem like, How to change filter on primo water dispenser? And set up for automatics filtration, Must read the following Steps!
Step 1: Turn Off and Unplug the Dispenser
Before starting the filter replacement process, ensure the dispenser is off to prevent any electrical hazards. Unplug it from the power source to guarantee a safe filter change. Safety first!
Step 2: Locate and Remove the Front Panel
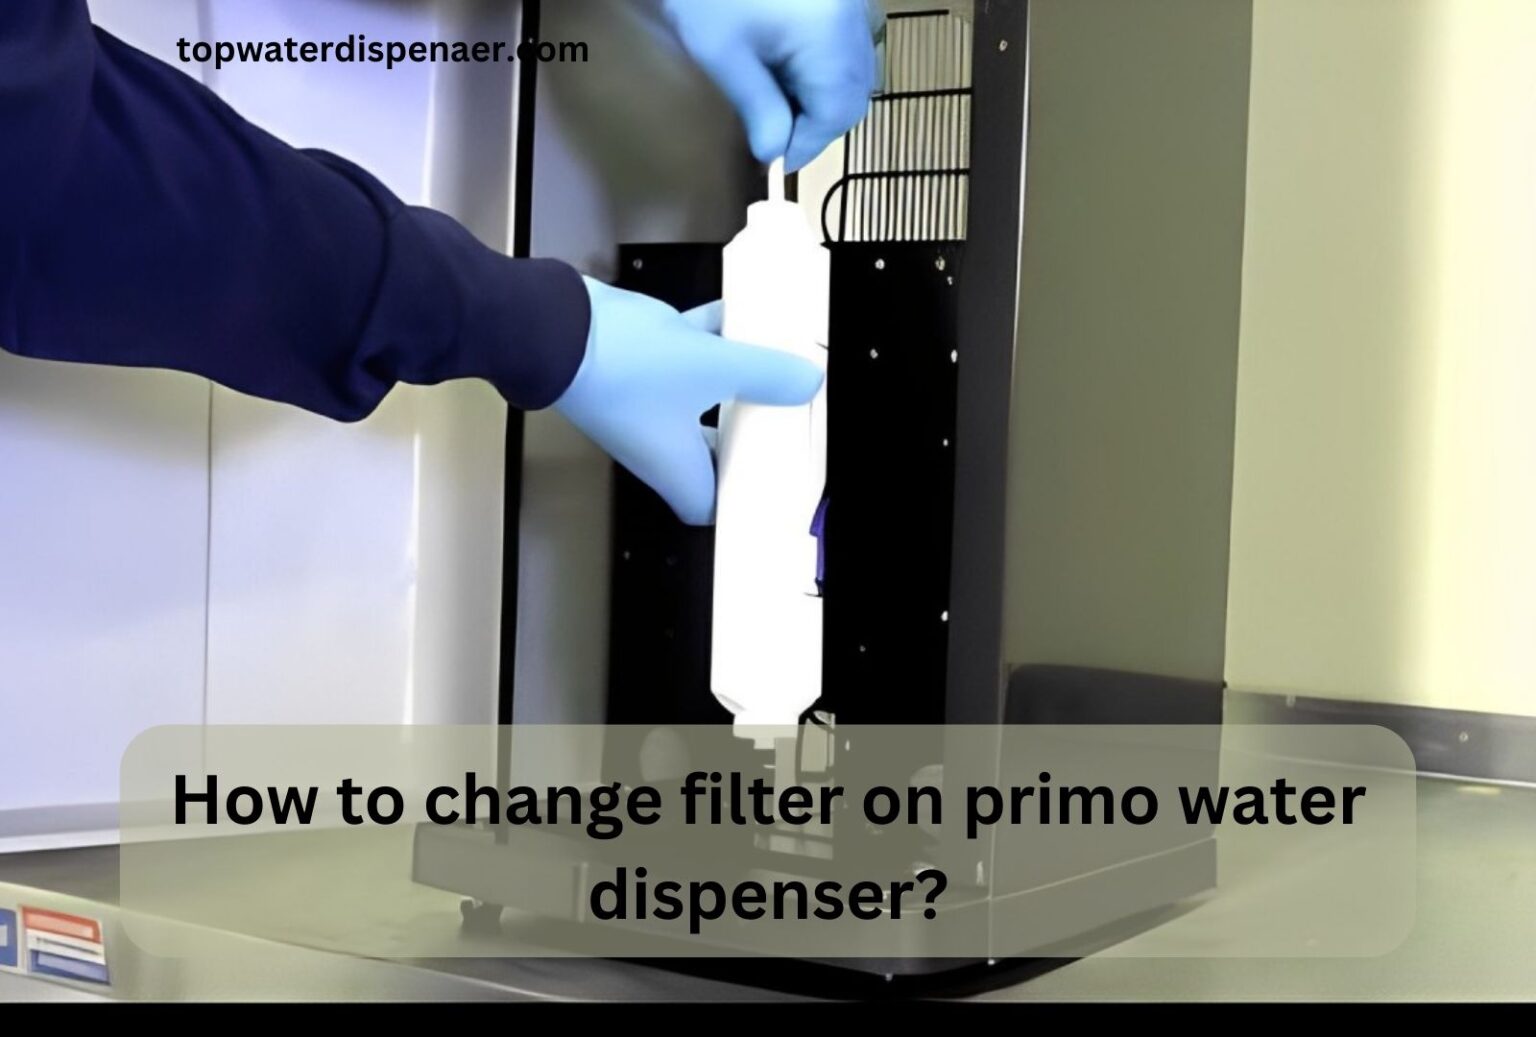
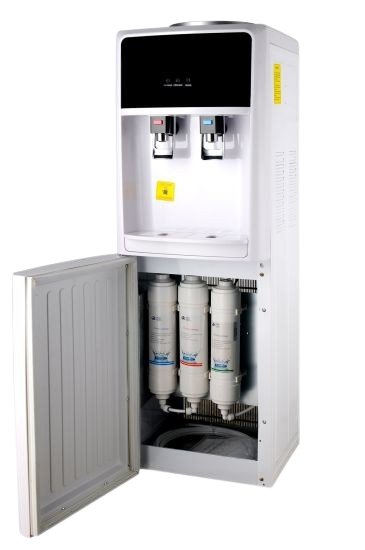
Gently find the panel edges on your Primo water dispenser. Using a flat-headed screwdriver, pry open the panel to expose the old water filter and prepare for its removal. Also remove the water bottle if it is a bottle loading water dispenser.
Step 3: Extract the Old Filter
Grasp the old filter firmly, twist it counter-clockwise, then carefully pull it out. Ensure to handle the filter without applying excessive force to avoid damaging the dispenser’s internal components.
Step 4: Prepare the New Filter
Before installing the new filter, soak it in cold water for at least 15 minutes. This will remove any carbon dust and activate the filter media, ensuring optimal performance once installed in your Primo water dispenser.
Step 5: Install the New Filter
Align the new filter with the guide grooves inside the dispenser. Gently push the filter in while twisting it clockwise until you hear a click, signalling that the filter is securely in place.
Step 6: Replace the Panel and Restore Power
After installing the new filter, reattach the front panel by aligning it and snapping it securely onto the dispenser. Finally, plug the unit back in and turn it on to enjoy clean, fresh-tasting water.
Topics:
The comprehensive topics related, How to change filter on primo water dispenser?
1.Maintenance Schedule: When to Change Your Water Dispenser Filter
Regular maintenance is vital for ensuring the longevity and performance of your Primo water dispenser. Filters should be replaced every six months or after filtering 300 gallons of water, whichever comes first, to maintain the quality and taste of your water.
2.Understanding Filter Types: Compatibility with Your Primo Dispenser
Not all filters are created equal. It’s crucial to select a filter that is compatible with your Primo dispenser model. Utilise OEM or Primo-certified filters to ensure efficiency and safety, and avoid the risk of using non-approved filters that can lead to potential water contamination or damage to your unit.
3.Troubleshooting Common Issues After Replacing a Water Filter
After replacing your water filter, you might encounter issues like irregular water flow or strange noises. Begin troubleshooting by ensuring the filter is correctly installed and that there are no air blockages. Check for leaks and confirm the panel is securely in place. If problems persist, consult Primo’s support.
4.Enhancing Water Quality: The Benefits of Regular Filter Changes
Regular filter changes in your Primo water dispenser not only prevent unwanted tastes and odours but also contribute to your overall well-being. Clean filters effectively remove impurities and potentially harmful contaminants from your water, ensuring that every sip supports a healthier lifestyle.
5.Disposal and Recycling: What to Do with Your Old Water Filters
Proper disposal of used water filters is crucial for environmental sustainability. Many manufacturers offer recycling programs for their products. Alternatively, you can check with local waste management for recycling guidelines to ensure that your old Primo water dispenser filters are disposed of responsibly.
Conclusion:
In summary, understanding “How to change filter on primo water dispenser?” ensures that your drinking water remains of the highest quality. By following the six-step guidance, you can easily replace your filter, thereby safeguarding both your health and the functionality of your dispenser. Regular maintenance and proper disposal of old filters are essential to both personal and environmental well-being. Embrace these simple yet effective practices to keep your Primo water tasting great and your dispenser running smoothly.
FAQs:
People also ask
Primo water is filtered using a multi-stage process that includes sediment filtration, activated carbon, and reverse osmosis or ultraviolet sanitation to purify the water.
To clean a water dispenser filter, soak it in a mixture of white vinegar and water, then rinse thoroughly with water before reinstalling it in the dispenser.
To clean a Primo water filter, soak it in a solution of one part vinegar to three parts water for five minutes, then rinse under cold water and reinstall.
To change the filter in your water dispenser, remove the panel, take out the old filter, insert a new one, reattach the panel, and restart the unit.
Yes, Primo water dispensers typically have a built-in filtration system that requires periodic replacement to ensure water quality and taste.


One Comment