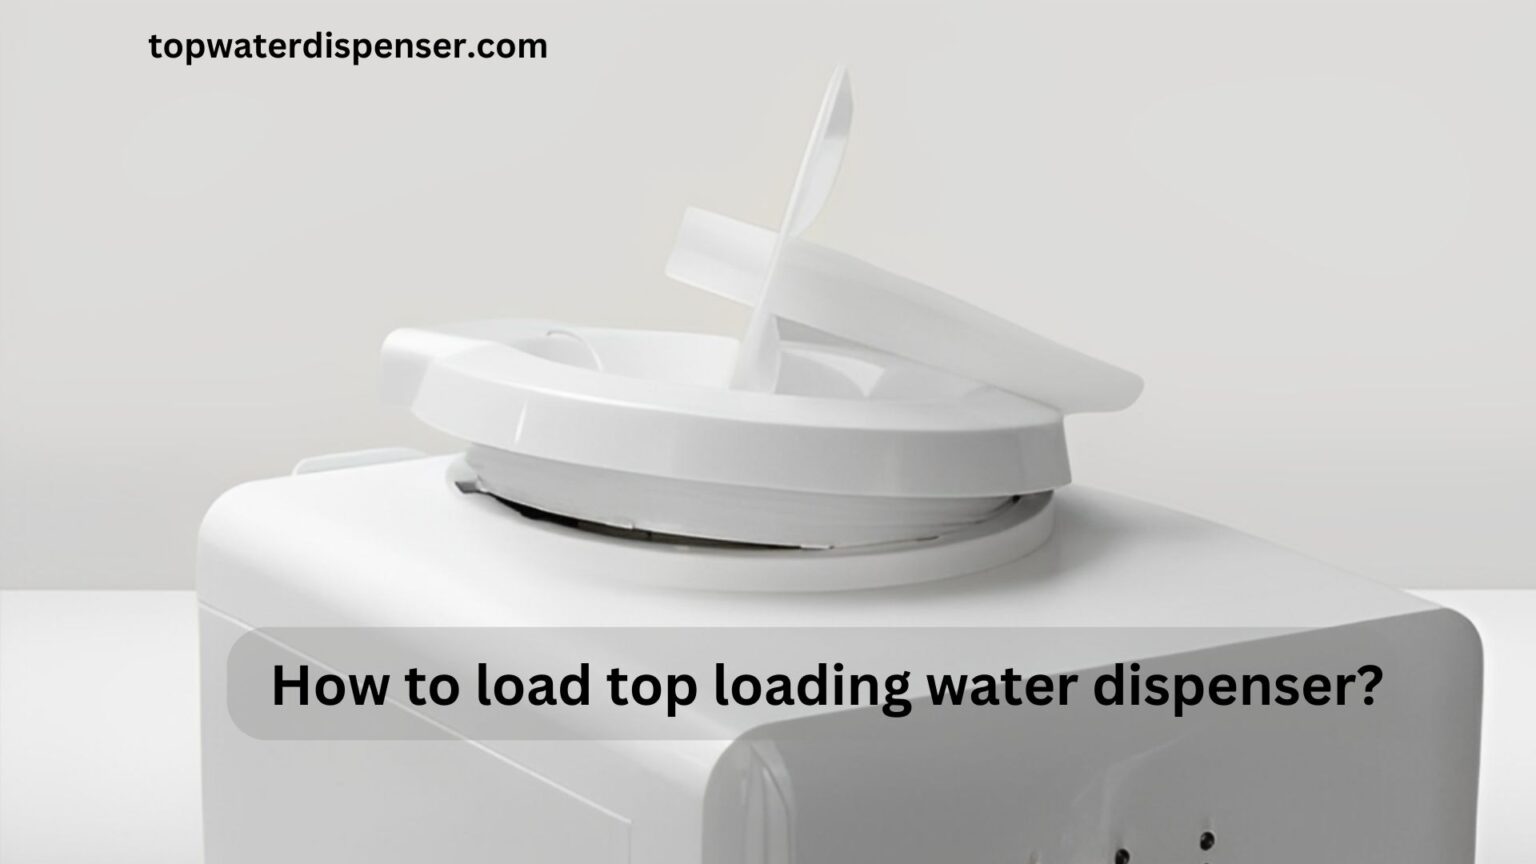
How to load top loading water dispenser?
It’s a struggle when you can’t figure out How to load top loading water dispenser? bottles without spilling. Especially when you’re thirsty or in a hurry, a simple task becomes a challenge.
Lift the water bottle close to the dispenser. Tilt it slightly, aligning the mouth with the spike, then lower it swiftly but steadily to prevent splashing. Ensure the bottle is seated securely to avoid leaks.
Discover hassle-free steps to load a top-loading water dispenser without spills. Quench your thirst, not your floors – read on for easy, splash-proof techniques!
How to load top loading water dispenser? (7 Steps Guidance)
If you are facing the same problem like, How to load top loading water dispenser? must read the following steps!

Step 1: Prepare the Area
Clear the space around your dispenser to ensure you have ample room for manoeuvring. Place a towel on the floor beneath the unit to catch any accidental drips.
Step 2: Remove the Cap Seal
Carefully peel off the seal from the water bottle cap. Some bottles have a tab or strip designed to make this easier and reduce spillage.
Step 3: Practise Proper Lifting
With your knees bent, lift the bottle by its handle using both hands. Keep your back straight to avoid strain.
Step 4: Tilt and Position the Bottle
Gently tilt the bottle, aligning its mouth just above the dispenser’s spike. Hold the bottle at an angle to start the water flow.
Step 5: Lower the Bottle onto the Spike
Swiftly but smoothly lower the bottle onto the spike, allowing the water to start flowing into the dispenser. Do this in a steady motion to minimise splashing.
Step 6: Secure the Bottle
Make sure the bottle is firmly placed on the dispenser. There shouldn’t be any gaps or loose parts where water could escape.
Step 7: Check for Leaks
After the bottle is in place, do a quick check around the base for any leaks. If everything seems dry, your dispenser is ready for use.
Topics:
The comprehensive topics related to the problems of water dispensers.
Topic 1: Understanding Water Dispenser Mechanics
Unveil the inner workings of a top-loading water dispenser, from the cooling system to the tap mechanism. Learn how understanding the mechanics can prevent common issues and extend the life of your device.
Topic 2: Maintenance and Cleaning Best Practices
Explore the essential routine to maintain your water dispenser’s hygiene. Regular cleaning prevents bacterial growth and ensures the water you consume is always fresh and safe.
Topic 3: Troubleshooting Common Water Dispenser Issues
Identify common issues that can plague water dispensers, such as temperature inconsistencies or water flow problems, and learn how to diagnose and fix them with ease.
Topic 4: Energy Efficiency Tips for Water Dispensers
Dive into ways to optimise the energy consumption of your water dispenser. We’ll cover how to save on electricity bills while maintaining optimal performance.
Topic 5: Choosing the Right Water for Your Dispenser
Understand the difference between spring, mineral, and purified water. We’ll discuss what to consider when selecting water for your dispenser to enhance quality and taste.
Conclusion:
In conclusion, mastering “How to load top loading water dispenser?” is simpler than it may initially appear. By following the seven-step guide, you’ll minimize spillage while ensuring safe, secure, and efficient reloading of your dispenser. These instructions not only save you from frustration but also keep your area clean and dry. Remember, the key is in a swift yet careful transition of the bottle onto the spike—leading to hassle-free hydration right at your fingertips.
FAQs:
People also ask, How to load top loading water dispenser?
No, top-loading water dispensers require lifting the bottle overhead, while bottom-loading units allow the bottle to be placed at the base.
To insert a water jug into a dispenser, align its neck with the spike and lower it quickly and steadily, ensuring it’s securely seated to prevent any leaks.
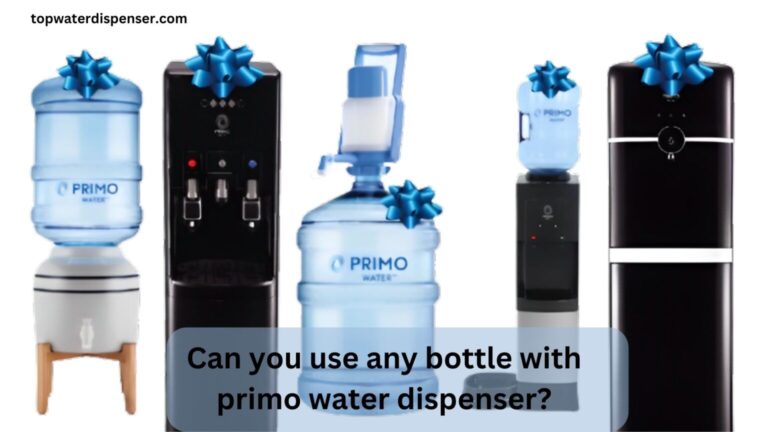
To load a Primo top-loading water dispenser, remove the cap, lift the bottle, align with the spike, then securely lower it onto the spike without tilting too much.
Lift the bottle, align it carefully above the cooler’s spike, and lower it swiftly onto the spike, ensuring a snug and leak-free fit.


One Comment