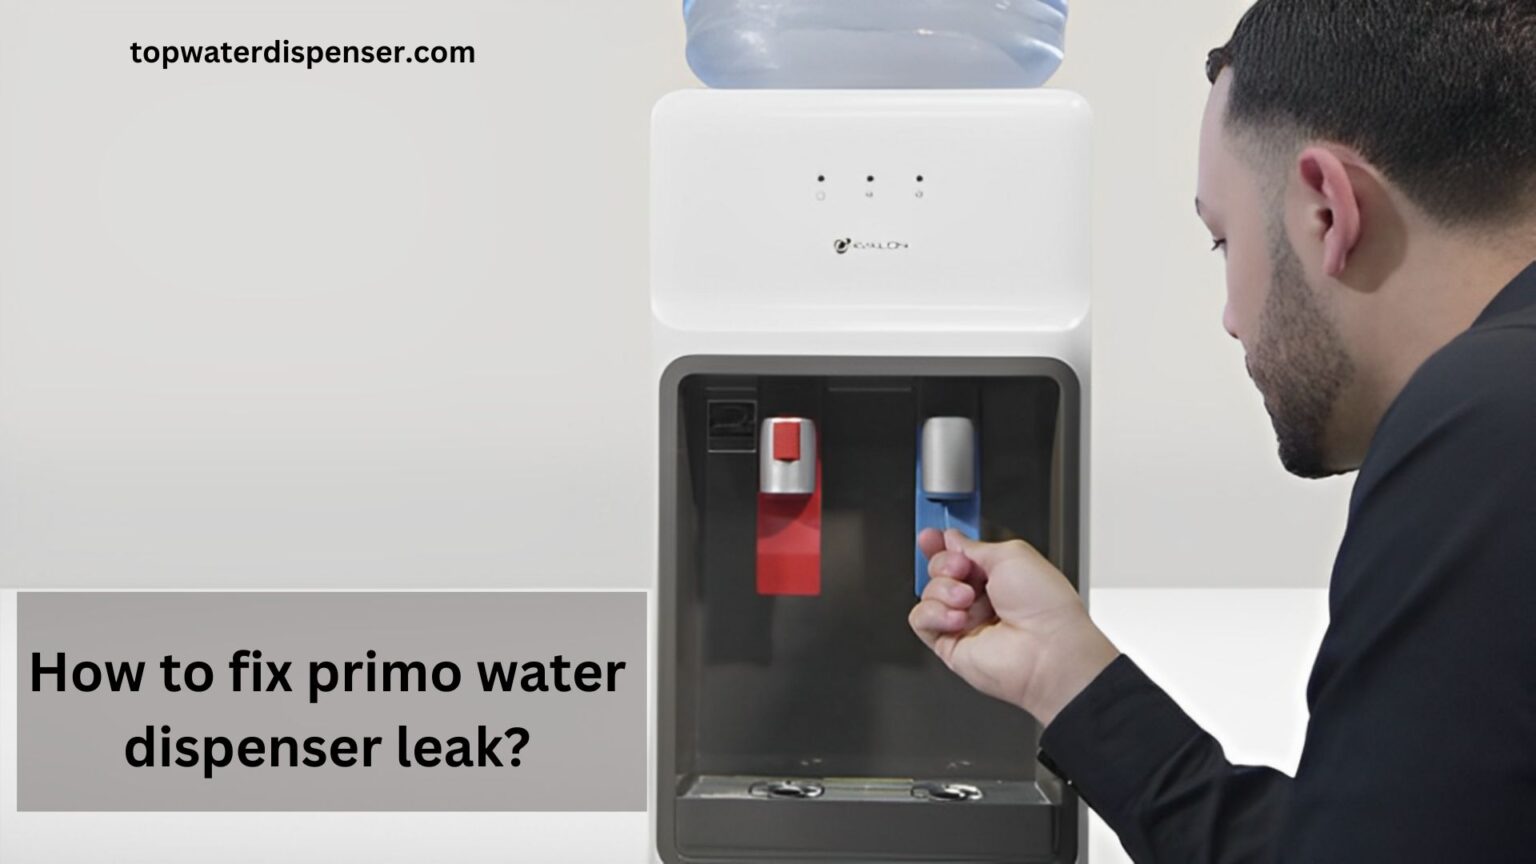
How to fix primo water dispenser leak?
Experiencing a leak in your Primo water dispenser is a common household nuisance. It disrupts daily routines and causes worry about potential water damage or wastage. “How to fix primo water dispenser leak?” becomes an urgent question.
Firstly, ensure the water bottle is seated correctly. If the leak persists, check for cracks in the bottle or dispenser; replace if necessary. Lastly, examine and tighten the spout or water valve as it may be loose or misaligned.
Discover the ultimate guide to fixing your Primo water dispenser leak in no time! Say goodbye to water wastage and hello to peace of mind with our easy-to-follow solutions. Learn more now!
How to fix primo water dispenser leak? (9 Steps Guidance)
If you are facing the same problem like, How to fix primo water dispenser leak? Must read the following steps!

Step 1: Unplug the Dispenser
For safety, always start by unplugging your Primo dispenser. This critical step prevents any electrical hazard while you inspect and address the source of the leak.
Step 2: Remove the Water Bottle
Carefully detach the water bottle from the dispenser. Inspect it for any damage or cracks that may cause water to escape, and replace the bottle if any imperfections are found.
Step 3: Drain the Water Reservoir
Empty the water reservoir to ensure no excess water is contributing to the leak. You may use a sponge or towel to absorb the water from the reservoir compartment.
Step 4: Inspect the Seals and Spigots
Check the dispenser’s seals for wear and examine the spigots for any looseness or damage. Replace worn seals and tighten or replace spigots as necessary to prevent leaks.
Step 5: Clean the Water Dispenser Drip Tray
Remove and clean the drip tray. Soak in warm, soapy water, scrub away grime, then rinse and dry thoroughly to prevent mold and ensure a tight fit back in the dispenser.
Step 6: Check the Cold Water Thermostat
Adjustments to the cold water thermostat may be needed; locate it typically at the back of the dispenser. Ensure it is not set too high, causing condensation and potential leakage.
Step 7: Examine the Dispenser for Cracks or Leaks
Carefully inspect the dispenser’s body for any visible cracks or leaks. Should you find any structural damage, consider sealing with waterproof tape or epoxy, or contact the manufacturer for further assistance.
Step 8: Reassemble and Reinstall the Water Bottle
Once all checks and repairs are completed, reconnect the water bottle to the dispenser. Ensure it’s firmly in place, preventing any future leaks due to misalignment or improper seating.
Step 9: Conduct a Functionality Test
Plug in the dispenser, and check for leaks as it operates. If the dispenser functions without leaking, the issue is resolved. Otherwise, repeat the troubleshooting steps or consult a professional for advanced repairs.
Topics:
The comprehensive topics related, How to fix primo water dispenser leak?
1.Signs That Your Water Dispenser Needs Maintenance
Recognizing maintenance needs is vital to dispenser longevity. Be aware of unusual noises, temperature inconsistencies, or changes in water flow. These signs can indicate that it’s time for a check-up or a professional servicing to keep your Primo water dispenser in optimal working condition.
2.Preventive Measures to Protect Your Primo Water Dispenser from Leaks
Regularly inspecting and cleaning the dispenser, using manufacturer-approved bottles, and not over-tightening the spigots can help prevent leaks. Also, be mindful of the water source quality, as impurities can clog and damage your system.
3.Understanding the Components of Your Primo Water Dispenser
Familiarizing yourself with the components of your Primo water dispenser is essential. It includes a water bottle, reservoir, spigots, cooling and heating mechanisms, a drip tray, and electrical components. Understanding these parts aids in effective troubleshooting and maintenance to prevent leaks and ensure longevity.
4.How to Choose the Right Water Bottle for Your Dispenser to Avoid Leaks
Selecting the proper water bottle for your Primo dispenser is crucial to avoid leaks. Ensure it’s compatible, made of durable material, and from a reputable brand. Properly sealed and stored bottles will also reduce the risk of leakage.
5.The Importance of Regular Cleaning for Your Water Dispenser’s Longevity
Regular cleaning is paramount for the longevity of your Primo water dispenser. Accumulated dirt and grime can not only affect the taste and quality of your water but can also contribute to leakages and mechanical failures. Clean your dispenser every 2-3 months to maintain its optimal function.
Conclusion:
In summary, fixing a Primo water dispenser leak can be streamlined by following the detailed steps provided. From unplugging the unit and checking for cracks to adjusting the thermostat and performing a functionality test, each measure is crucial to resolving “How to fix primo water dispenser leak?” Take the time to regularly maintain and clean your dispenser to prevent future leaks, ensuring a long-lasting, reliable source of water for your home or office.
FAQs:
People also ask, How to fix primo water dispenser leak?
The three switches on the back of a Primo water dispenser typically control the hot and cold temperature settings and power the unit on or off.
Pump dispensers often leak due to worn-out seals, overuse, misalignment during installation, or a build-up of air pressure within the system.
To seal a leaking water valve, shut off the water supply, release any pressure, remove the valve, and replace the washer or O-ring, then reattach and test the valve.
To fix a non-dispensing Primo water dispenser, check for clogs, ensure the bottle is seated correctly, and look for frozen lines in cold weather or verify power connection.
A top load Primo water dispenser leaks primarily due to a misaligned bottle or worn-out seals in the spigots and water reservoir.



One Comment